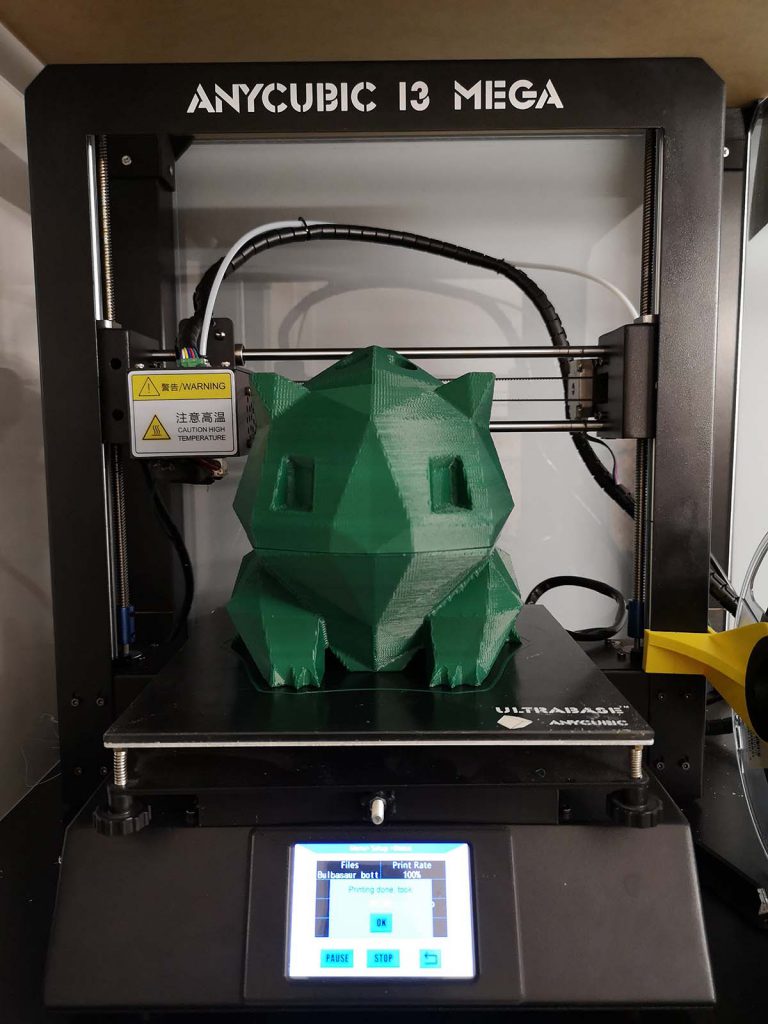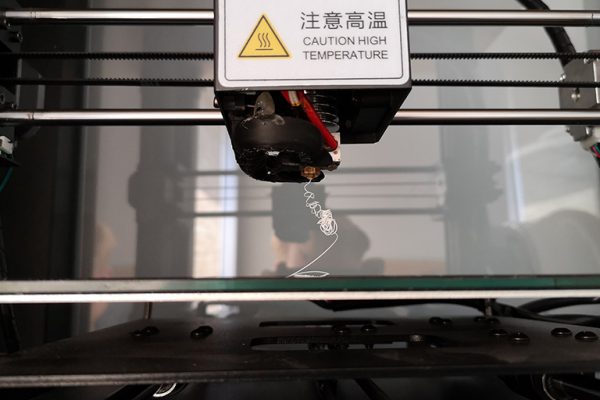
Time for another 3D printing tutorial, I’ll teach you a few tricks in Autodesk Meshmixer. Meshmixer is a free program that will allow you very easy sculpting and modification of 3D STL files. Meshmixer is my program of choice for modifying STL models that I get from places like Thingiverse. For this tutorial I’ve used this fine model by FLOWALISTIK, and I made it into a vanity caddy. A little tabletop Bulbasaur that holds some makeup brushes in its bulb, and opens up for more storage. I’ve printed this using my Anycubic i3 Mega Ultrabase that I’ve written about before here and here. I sliced the model using Cura.
Navigating
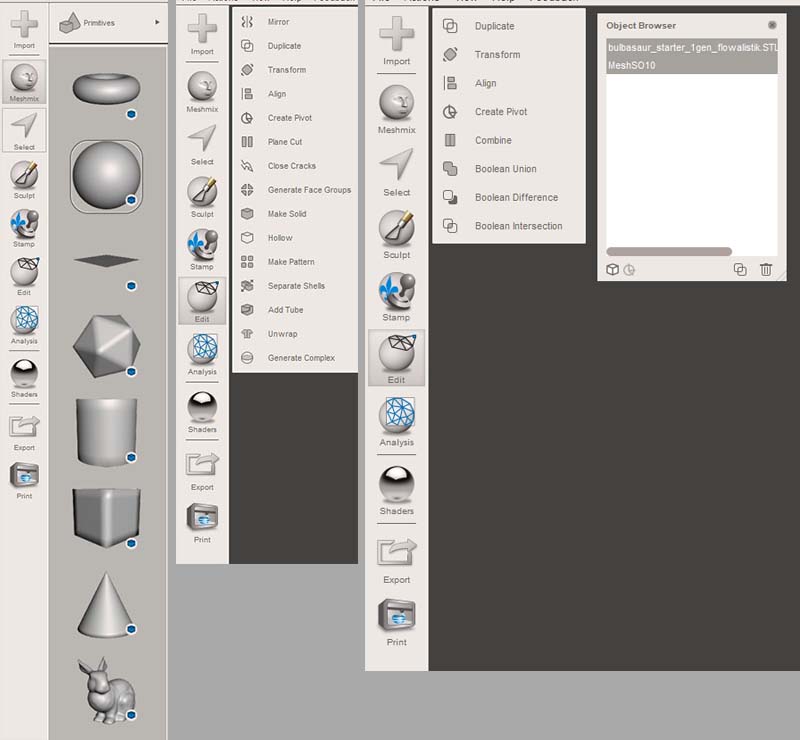
The navigation of the Meshmixer 3D environment is very similar to other 3D programs. Hold the right mouse button and move your mouse, and the model will rotate. Holding the middle mouse button will pan the model. left mouse button is reserved for selecting actions and parts. The left side is where all the controls are, and some of these are quite advanced, but we’ll stick to the basics today. All the controls we need are under “meshmixer” and “edit”. Meshmixer houses a few standard shapes. Edit gives us a lot of options for modifying our model. For the makeup caddy we’re going to use transform, plane cut, and seperate shells. There’s another set of options that will show up when you have multiple objects in your workspace.
Getting started
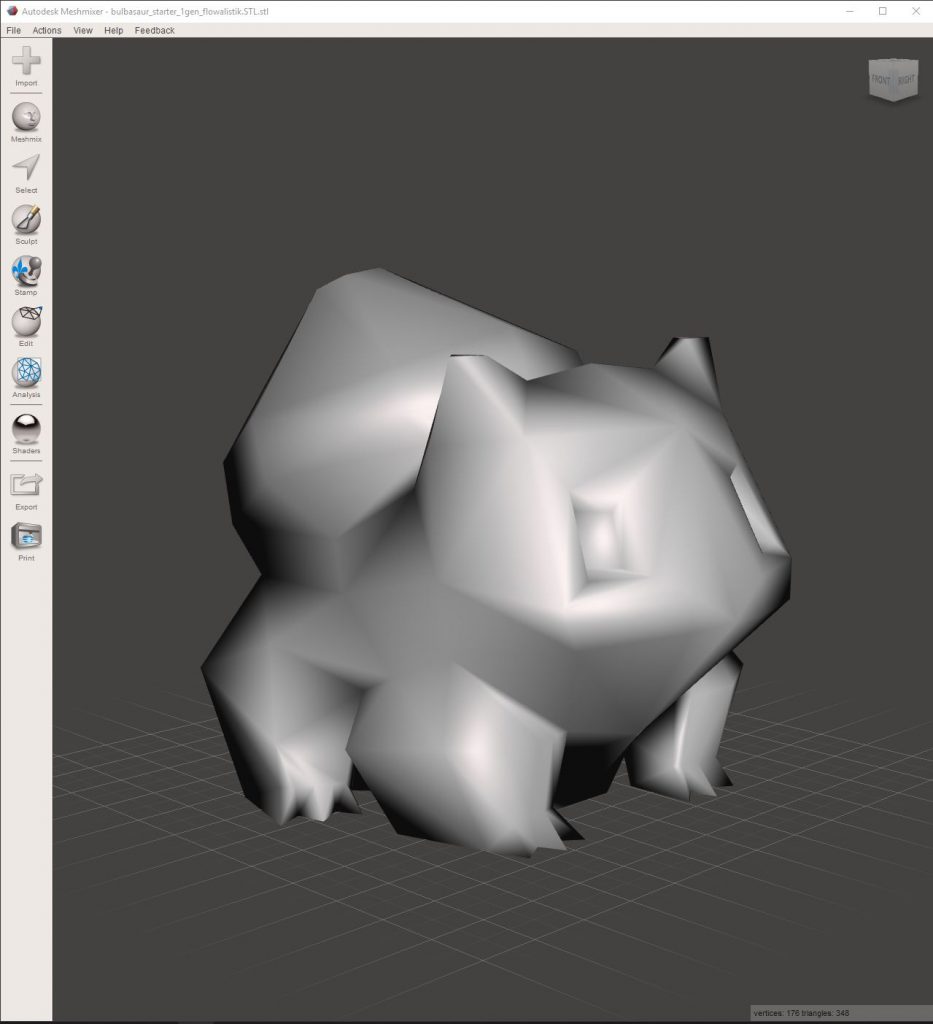
Firstly, download the model of your choosing from any site you want. Make sure it’s one of the supported file formats. I use Thingiverse as my site of choice, but there are others. Myminifactory is a popular site that offers both free and paid models. To get your model into Meshmixer, click the “import” button, navigate to where you stored your model and click open to have it show up in 3D.
Resizing and making holes
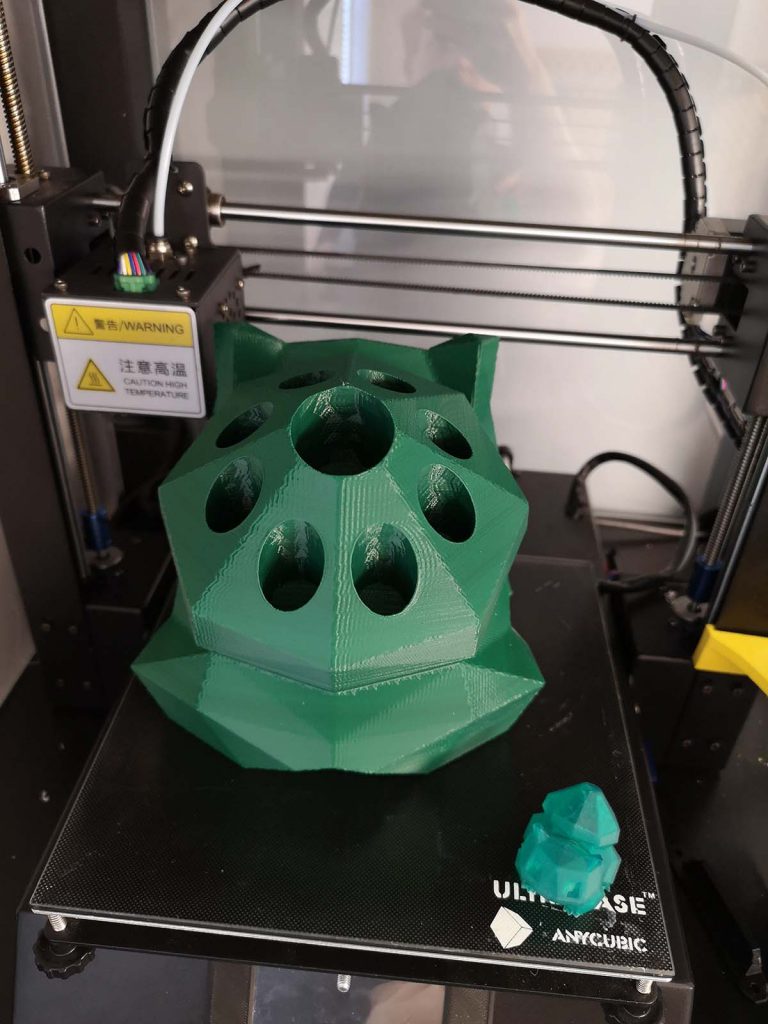
The model that I imported is much too small, so I’ll first resize it. You can resize by opening the edit->transform menu. Check “uniform scaling”, and increase size. Then We’ll create the holes for the brushes. Open the Meshmixer menu and drag in a cylinder, resize the cylinder using the transform menu that shows up automatically. Next position the cylinder so it aligns nicely with the bulb. Then we’ll open the object browser (ctrl + shift + O) and select both objects. Be sure to select the main model first, and then shift+click on the cylinder. The extra set op options I mentioned before now shows up, and we can combine, or subtract items from each other. We’ll do a boolean subtract to create a hole in the bulb, that will house a makeup brush. Repeat steps to create more holes. Watch the video below to see the whole workflow.
Plane cut and hollowing out
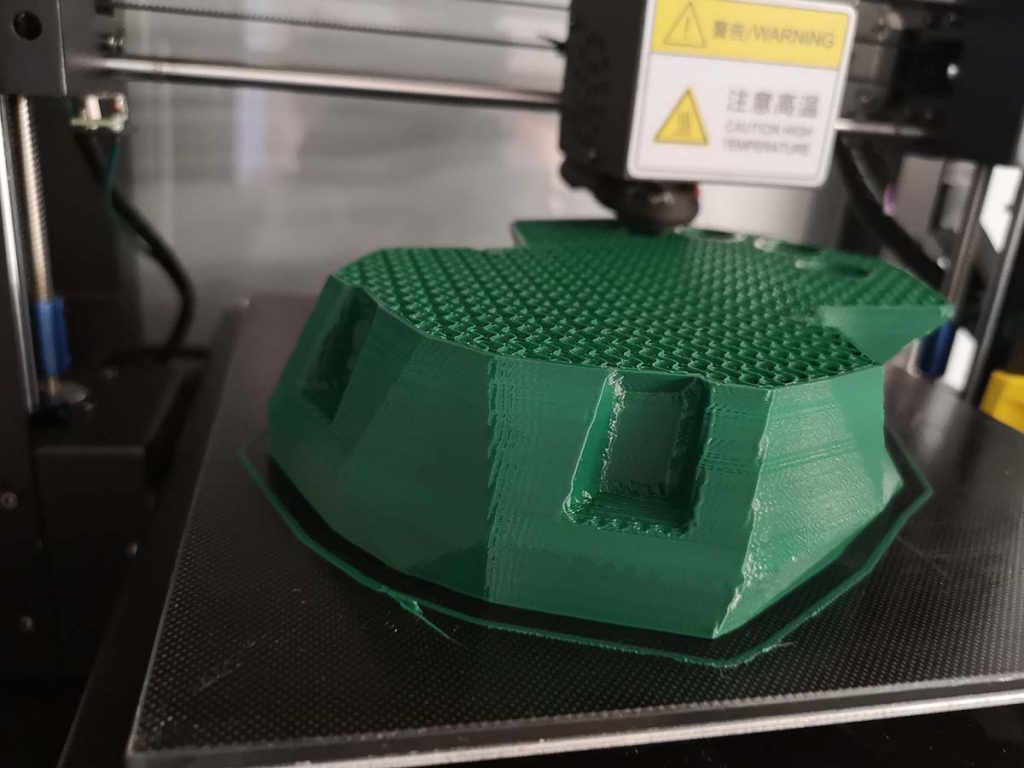
Next I want to seperate the model into 2 halves, and hollow these out to create a compartment. Meshmixer actually has a “hollow” option, but this creates a shell with an even thickness, and is used to save on material when printing. Since I want to use this as a box, I’ll hollow this model out by hand.
First I’ll cut the model into 2 pieces, then I’ll use the seperate shell command to make the model show up as 2 different pieces. Then I’ll then position a cube, and use the same boolean subtract to create a hollowed out model. Lastly, I’ll add 2 pegs to make the 2 shells align when they are printed and I stack them. Watch the video below for the whole workflow.
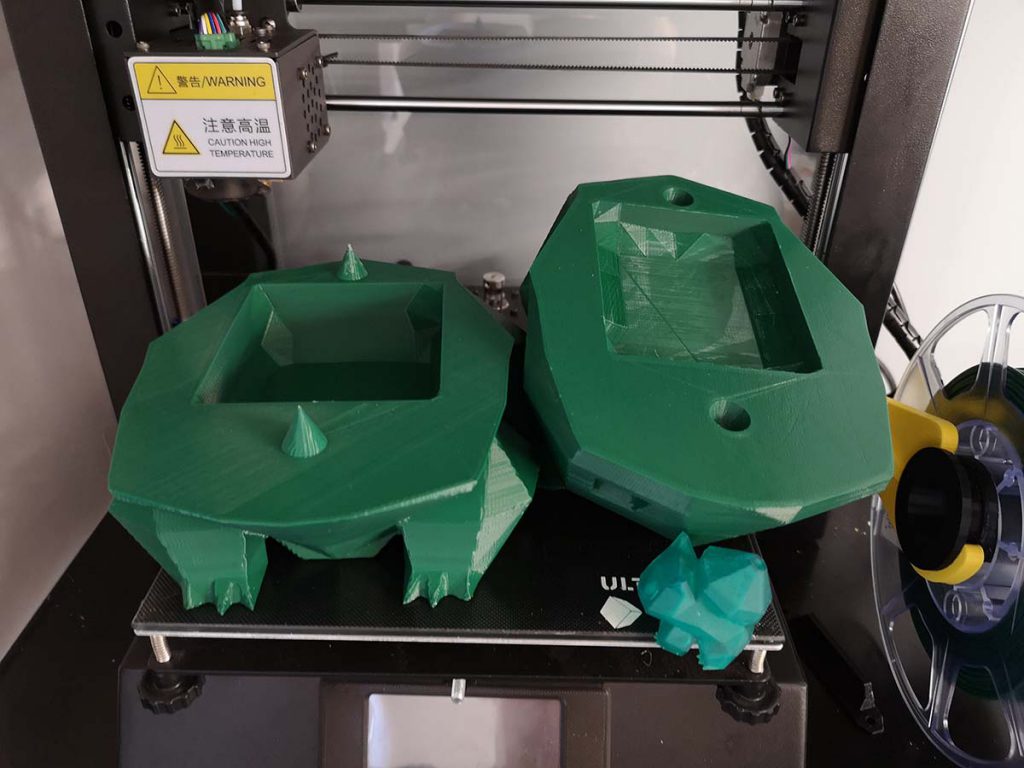
Adding the pegs
The Meshmixer menu also has a cone. I will use the cone shape to add pegs, and holes into the model so the 2 halves will sit nicely on top of each other. Drag a cone into the model space, and resize and shape to fit the model. Duplicate the cone and add it to the front of the model. Then duplicate both cones, so we can combine them to the bottom and subtract them from the top. Watch the video below for the whole workflow.
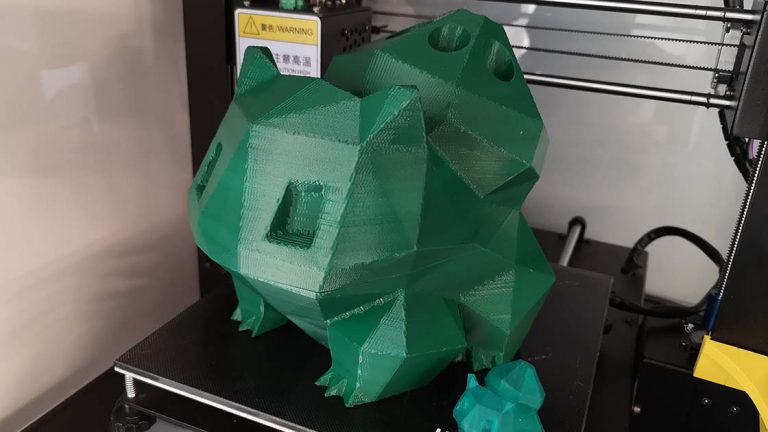
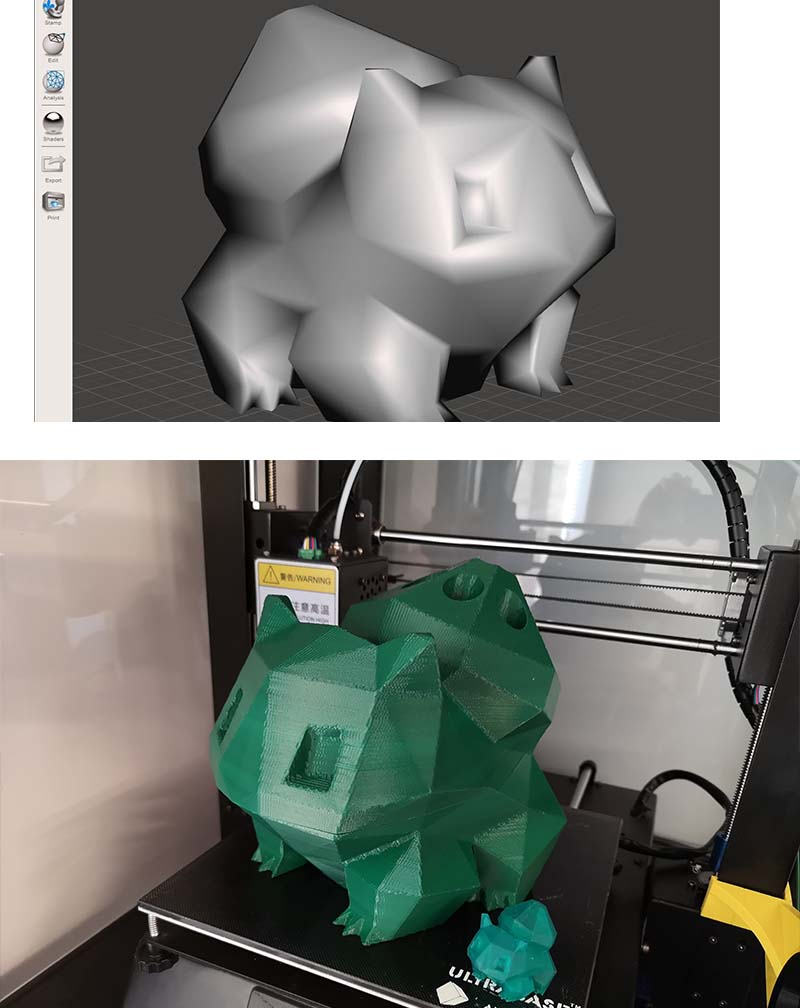
The finished product
It took almost 60 hours to print both halves, but here is the finished product: