I’ve talked about my printers before, and it’s no secret that I’m a fan of Anycubic printer. This Shenzhen based company produces affordable, good printers. Their printers have a low prince point and you get more than your money’s worth, but there is room for improvement. I decided to upgrade my printer and I found this very good guide that I decided to follow.
The upgrade will take care of some of the noise issues, add functionality and improve accuracy. I want to make my printer a direct drive system, to be able to print flexible materials. The Anycubic i3 Mega is a Bowden printer out of the box. I also want to add network connectivity to my printer, so I can do away with those pesky SD cards, and make beautiful timelapse videos like this. I’m going to document this upgrade process in the following weeks.
I plan to make these modifications:
- Replace stock firmware with custom Marlin build
- Add Raspberry Pi with webcam and Octoprint
- Add insulation to heated bed for better energy efficiency
- Upgrade stock fans with quiter versions
- Upgrade stock drivers with more precise, quieter versions
- Add magnetic bed for easier removal of models
- Replace stock printhead and extruder with direct drive head
Flashing the firmware – custom Marlin build
I decided to flash the printer with a custom Marlin build that I found on Thingiverse because I need the flexibility in the firmware when I want to make modifications like upgraded drivers or a different print head. There is a very good step-by-step guide explaining the process on the thingiverse page that I followed myself, but there are some very important things to take into consideration.
If you’ve never worked with Arduino IDE before or know nothing about C++, this will be a learning curve. It won’t be over your head, but be sure to always keep the original firmware as a backup, and never EVER flash the bootloader. The bootloader is the part of the machine that starts up the machine, but also communicates with your computer. If you flash the bootloader and you make a mistake, you will need to dive a lot deeper into the programming rabbithole.
I flashed the firmware from the page without modifications, because I haven’t made any physical modifications to my printer yet. I will document the changes I make to the firmware in future posts, after I receive the parts and make the modifications. To start the firmware flash you’ll need:
- USB cable connecting your printer to your PC
- A printer
- Your printer’s USB driver
- The firmware for your printer (as a backup)
- A custom firmware for your printer
- Arduino IDE, Cura, RepetierHost (for compiling, installing and using Gcode)
I recommend you use the step-by-step guide on the project page, since it is very in-depth and easy to follow.
Adding Octoprint
This is an upgrade I’ve wanted to do ever since I got my printer. Octoprint is a browser based controller for your printer. Octoprint allows you to upload your sliced models and start a print from anywhere within your own network, or even remotely. It also has a module for webcam support, which will automatically create timelapse videos of your print being made. I’m a geek and that means I had a few spare parts laying around. I used a Raspberry Pi 3 B+ (RPi) with a 32 gb micro SD card for this build. I placed the RPi inside the metal casing of my printer, which influences WiFi reception. In my case that wasn’t a problem, but depending on how strong your in home WiFi signal is, you may need to add an external antenna.
To install Octoprint and add it to your printer, you’ll need the following:
- Octoprint software
- Balena Etcher (for SD card flashing)
- A Raspberry Pi (I recommend getting a model 3 B+ or better)
- A buck converter (for converting printer power (12-24V) to 5V-3A)
- Short USB cable to connect raspberry pi to your printer (usually USB A to USB B)
- Optional: a Raspberry pi camera or webcam
Download the Octoprint software, and flash this on a micro SD card using Etcher. Etcher is an easy to use program that has just 3 steps, selecting the image (Octiprint software), selecting the target (your SD card), and flashing.
Setting up Octoprint
After flashing, safely remove the SD card, and reinsert into your PC. open the “boot” drive and edit the “octopi-wpa-supplicant.txt” file. You’ll need to input the credentials to your wifi network in here to have the RPi connect to your home network. More information on how to do that here.
Next is starting up your RPi for the first time, plug it in and wait a few minutes until it has booted, and is connected to your WiFi. Default access to your Octoprint RPi will be http://octopi.local/, in some cases your network will not allow that URL to work. If that’s the case, you’ll have to access it via its IP address. You’ll need to login to your router, and find out which IP was assigned to the OctoPi. How to do this depends on your router. I also recommend to assign a static IP to the Octopi, while you’re in your router’s GUI.
To set up Octoprint, please read this very good how-to. You can start at step 6, but it’s a good idea to read all of it.
Mounting and connecting the RPi
I installed my RPi into my printers case, this means dissassembling the printer and mouting the RPi inside the case. This is optional, but a great finishing touch. I drilled 4 holes, and used PCB mounts to mount my RPi to my case. I used a buck converter to power my RPi from my printer’s power supply. My printer is 12V, which will fry the RPi. I had a cheap buck converter laying around. Most of these will take any voltage between 9V and 36V and convert it into a stable (lower) voltage. The RPi likes 5V, so I used this guide to connect my buck converter. My RPi now switches on as soon as the printer has power.
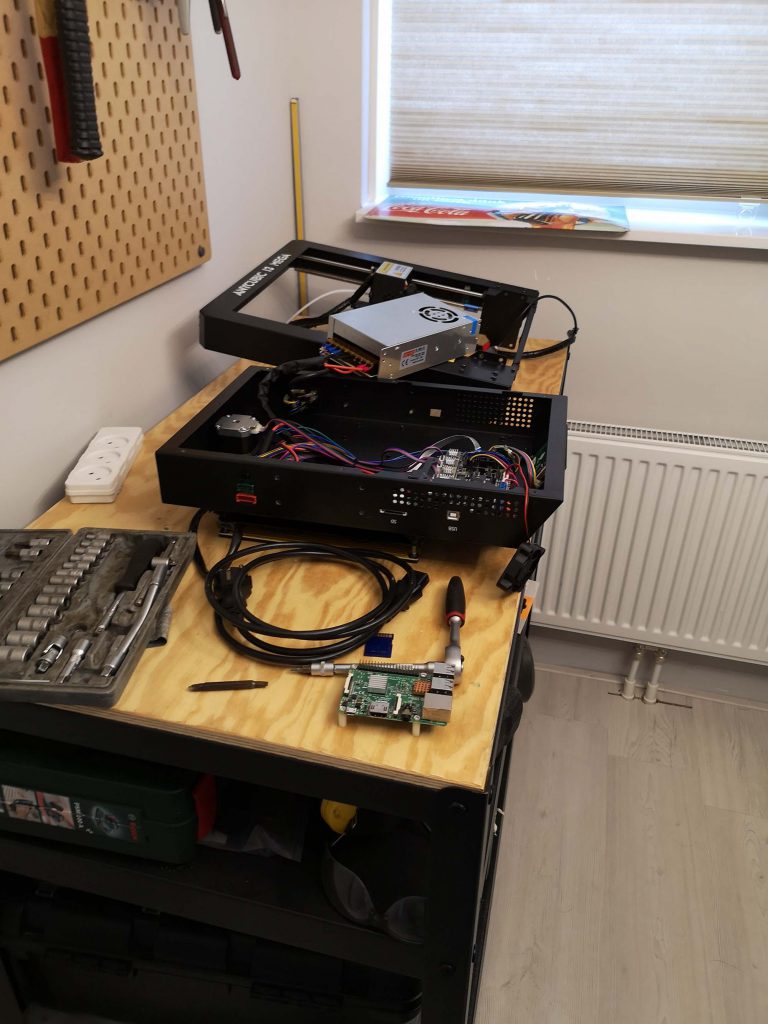
It all falls apart 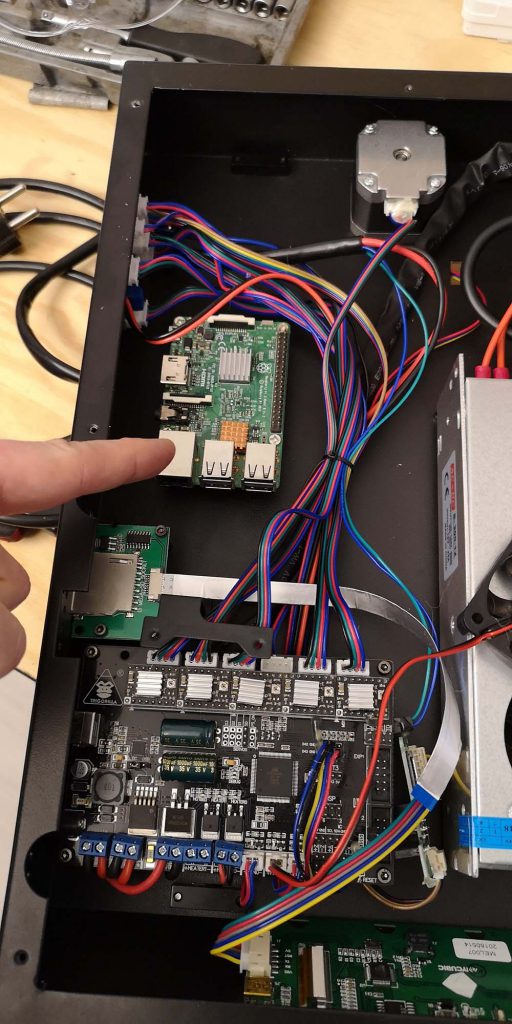
Mounted RPi 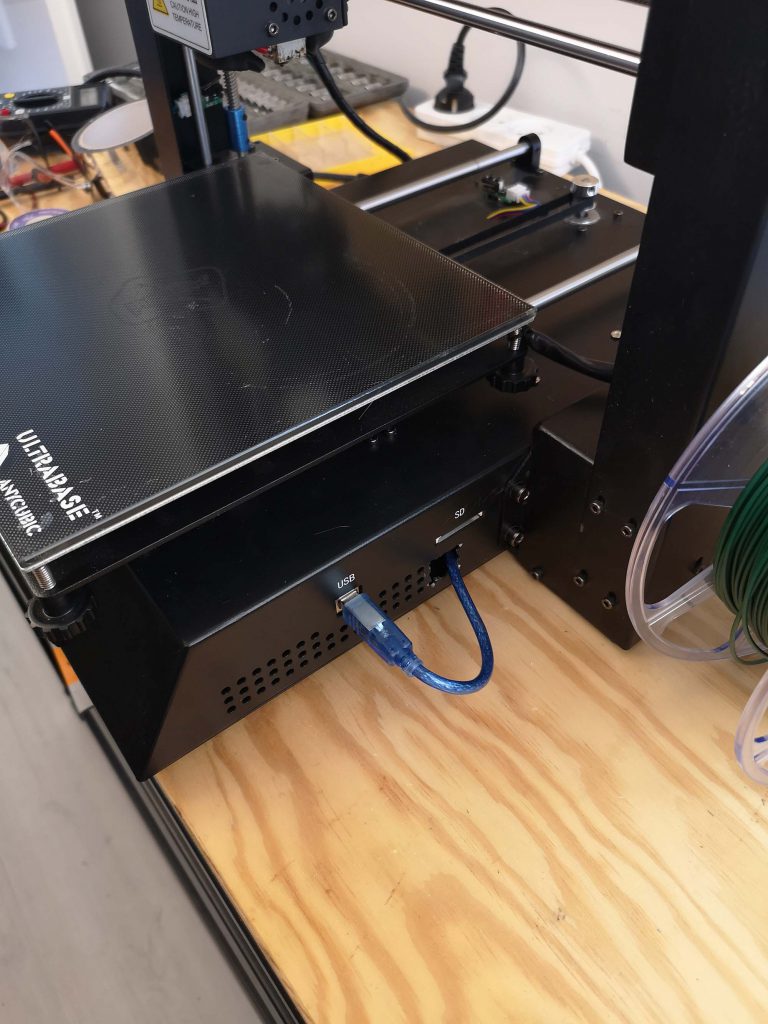
End result
I opted to route the USB cable outside my casing, so I can still easily access my printer controller board if I need to. It’s not an elegant solution, but it works very well.
End result
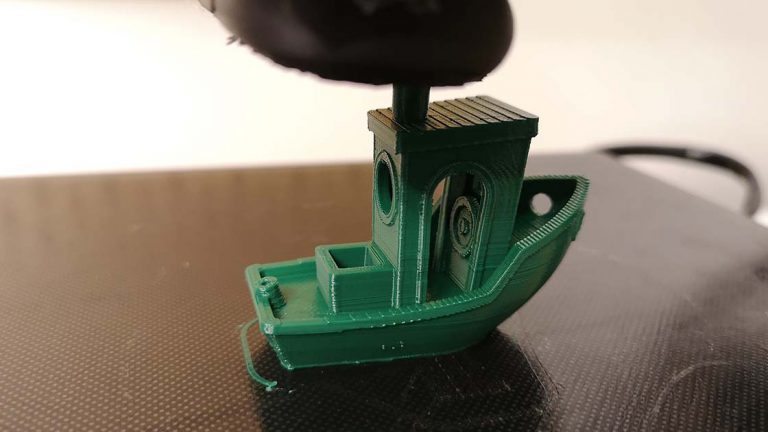
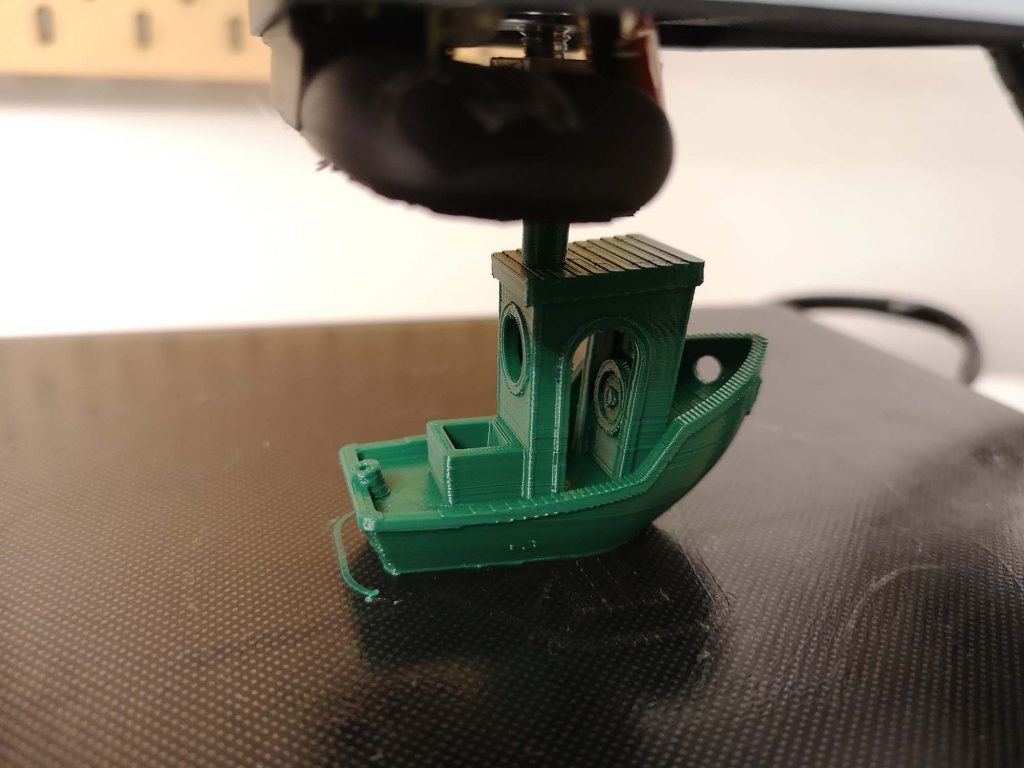
The first successful print was the traditional Benchy. The product also shows why I want to upgrade the other parts in my printer, there is some ringing (motion artifacts), blobs, and overhangs aren’t neat. I hope to fix all that with the other planned upgrades in the coming weeks.


hey there!
i read your article about the upgrades you made and would like to ask something: i know it´s been a while since you posted this, but after mounting the RasPi inside the 3D-printer, have you had any problems with the wifi connectivity?
Thanks in advance for your answer and have a great day:
Regards,
Dawid
Thanks for reading, no I haven’t had any issues, but I have a mesh network in my house, and one of the mesh nodes is in the room the printer is in.